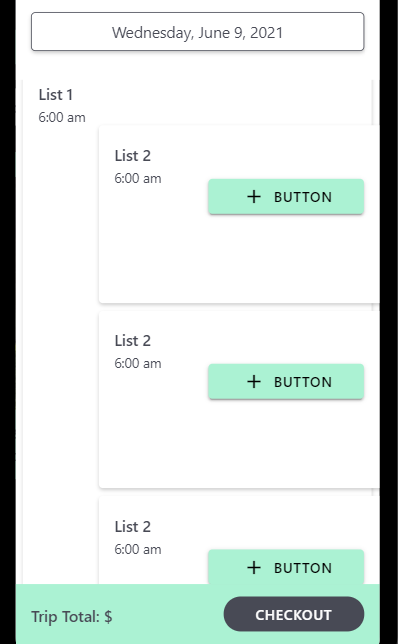
Hello everybody, new to Adalo here, hoping to get into developing apps for customer soon. In the meantime i’m creating a Catalog of Apps and learning everything I can about Adalo. So for one of the apps i’m developing, a food ordering app, i’m trying to do a counter for product quantity. See below an example:
I’m sure you have seen this in many modern apps. You use the "+"button to add a product quantity and “-” to substract a product quantity. In the middle is a counter that specifies how many you have selected.
I have seen the workflow on the “Food Truck Template” but there you add products on one screen (from a Products List) and in the next page you delete items (from a Order Items List). This is not what i want since it’s not very friendly to use.
Has anybody here had a similar issue? how did you solved ir? or does anyone have any idea on how to solve it?
This is possible, but it requires you to nest custom lists.
Create a custom list of your menu options,
then put a custom list inside that to be your list of orders filtered so that only 1 item shows (the current user’s current order),
then you can put a custom list inside of that, filtered so that only the last order item shows which is in both that order and of the menu option type that you are in (eg, sort high to low by date and only show one result).
Put your two icons and text in this third-level list. Set the text in the middle to Current Order > Order Items > Count (filtered so Line Item Menu Option Name = Current Menu Option Name) - this will tell you how many of these are in the order.
When you ‘Add’, you can create a new order line item of that menu option in that order. This will become the one you see in the list (though you won’t know it’s changed). When you ‘remove’, tell it to delete the current order line item (because it is showing the latest one). This will delete on a last-in, first-out basis.
There’s quite a lot there, but it does allow you to build the cart all on one screen. When Adalo open up demo/read-only apps, I’ll be happy to build it for you so you can see how it works!
Thanks for the answer! Wow that is quite the hack!
I think I got the logic behind it, and was trying to implement it, but i´m runnning into an issue. This third level list is not showing at first (and icons+counter not visible) because when you access the screen there is no OrderItem created yet, so nothing is shown. Do I have to create one order item per menu item at first? how would I do that? I craeted this diagram to illustrate what I understood, please tell me if im correct.
You could have a group of icon and counter that is only visible if there are no order items for that product, which, when clicked, creates the order item.
That’s right @erickjbc - great diagram! You’re SO close.
So the way I’ve done it is how @Ben suggests - in that orange group, you can put a rectangle and text at the top; group those together. Text might be something like “Add to cart”. Have that group show when Current Order > Order Items > Count (Item Type = current MenuItems type) = 0 and have it create an order item of that type.
When you click it, it will disappear and the icons and counter will appear for that line instead.
Thereafter, if you have one item and remove it using the (-) icon, the icon and counter will disappear and the original ‘add to cart’ button will reappear.
Thanks a lot! Got it working now, did a little twist on the solution, got the (+) icon on the blue list and the (-) and counter on the orange list. That way the (+) is always visible, and the (-) and counter are visible when there is at least one item added.
Hi,
I’m working on something similar, so I was wondering if you don’t mind sharing how you got yours to work. Maybe like a visual representation of steps taken would help.
Thank you!
To nest a custom list, you simply place a list in another list - make your first list pretty big to start with, so that you can drop the second (and subsequent) lists in.
Hi all, this is definitely a killer feature but a bit complex to integrate. Is anyone can create a clone kit or an ecommerce template with this feature? Thks!
Hi all, Appreciate this can be available for cloning app as I have seen many community members trying to get this up and often need to figure out this hack. @Ben appreciate if the food truck clone can be updated with this hack as I also struggle to get this done.
Hi all, Can you share a screen shot or a better description of the filter used for the second level list of Orders. Under normal filters I do not see “logged in user > current order” as an option and I can not seem to make this as a custom filter either. Consequently my second level list is displaying far too many objects.